Gas Tight Crimp
A gas tight crimp is a crimped electrical termination in which the conductor strands and contact barrel are compressed tightly enough to exclude oxygen. This prevents oxidation at the conductor interface, stabilizes electrical resistance, and improves long-term reliability in harsh environments such as heavy equipment, marine, and agricultural applications.
Why Crimp Quality Matters in Harsh Environments
In industrial systems, connector failure is often traced back to improper termination — not the connector housing itself.
A poor crimp can create:
-
Micro-gaps that allow oxygen intrusion
-
Oxidation at the conductor-to-contact interface
-
Increased electrical resistance
-
Localized heat buildup under load
-
Accelerated degradation in vibration-heavy environments
Heavy equipment, fleet vehicles, marine systems, and agricultural machinery operate in constant vibration and thermal cycling. Even small increases in resistance can contribute to intermittent faults and premature failure.
Proper termination using a gas tight crimp reduces these risks and supports long-term reliability.
Environmental sealing of the connector housing is important — but without correct crimping technique, the system is incomplete.
What “Gas-Tight” Actually Means
The term gas tight crimp refers to a termination where conductor strands are compressed into the contact barrel with sufficient force to create a cold-formed connection.
This compression:
-
Minimizes voids between strands
-
Excludes oxygen at the interface
-
Reduces oxidation potential
-
Stabilizes electrical resistance over time
This is not a welded joint. It is a mechanical compression that achieves intimate metal-to-metal contact when executed correctly with the proper tooling.
Performance depends on:
-
Correct contact size
-
Correct wire gauge
-
Compatible crimp tooling
-
Proper strip length
Specifications and crimp height requirements vary by contact series. Always verify manufacturer documentation.
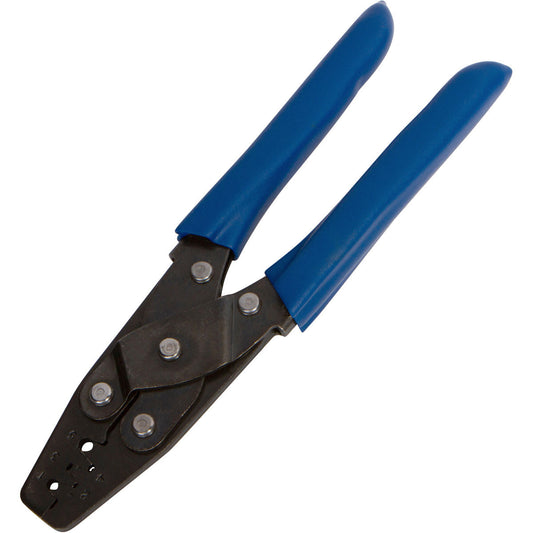
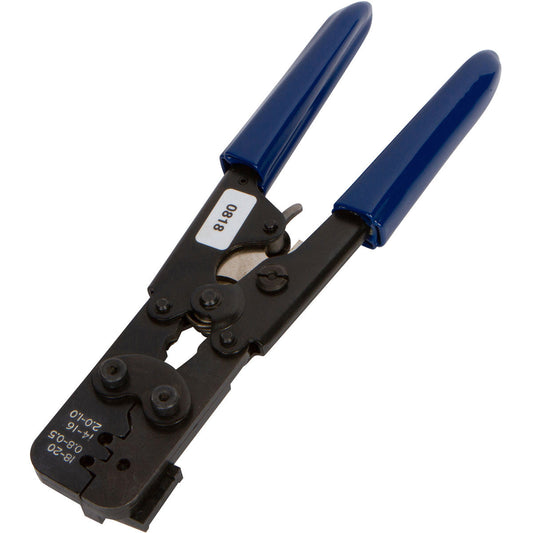
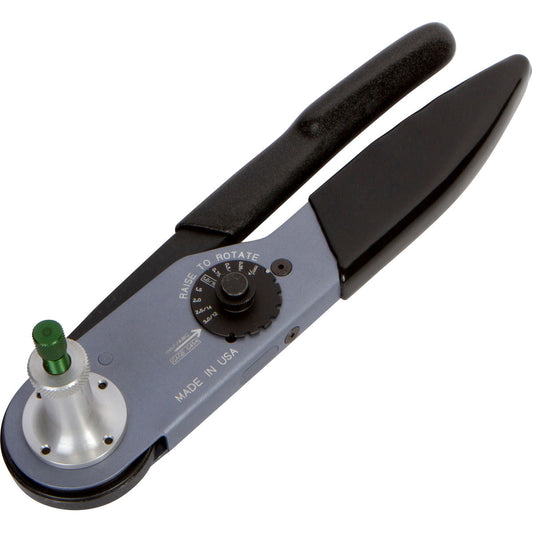
Required Tools for a Proper Gas-Tight Crimp
Achieving a reliable termination requires more than a generic crimp tool.
Minimum requirements include:
-
A calibrated industrial crimping tool matched to the contact size
-
Correct positioner or locator
-
Manufacturer-approved contacts
-
Accurate wire strip length
For example:
-
Crimping Size 16 contacts requires tooling compatible with that contact diameter
-
Size 20 contacts (commonly used in DTM connectors) require different die geometry
-
Size 12 contacts (used in DTP connectors) require tooling rated for larger barrel compression
Using the wrong Deutsch crimp tool or an uncalibrated tool can prevent proper compression and compromise the gas-tight interface.
Industrial Crimp Tooling Products
Step-by-Step: How to Crimp Connector Contacts Correctly
This section functions as a practical electrical contact crimping guide for technicians and engineers.
Step 1: Strip the Wire to the Correct Length
-
Follow manufacturer strip-length specification
-
Avoid nicking or cutting conductor strands
-
Do not cut away excess insulation
Damaged strands reduce effective cross-sectional area and current capacity.
Step 2: Insert the Conductor Fully into the Contact Barrel
-
Ensure strands are fully inserted
-
Confirm insulation is positioned outside the conductor crimp area (unless specified for insulation support)
-
Verify no stray strands are exposed
Step 3: Position the Contact in the Correct Die Cavity
-
Confirm tool and die match contact size
-
Use the correct locator position
-
Ensure the barrel aligns properly before compression
Improper die selection is a common cause of incomplete compression.
Step 4: Complete the Full Ratcheting Cycle
-
Fully close the ratcheting mechanism
-
Do not release prematurely
-
Allow tool to complete full compression cycle
Incomplete ratchet cycles are a frequent termination error.
Step 5: Remove and Inspect the Crimp
Immediately perform a visual inspection before installation.
Common Crimping Mistakes (And Why They Cause Failure)
Understanding failure modes improves field reliability.
Under-Crimping
Insufficient compression leaves micro-voids between conductor strands. Oxygen can enter, leading to oxidation and increased resistance.
Over-Crimping
Excessive compression can deform the barrel, damage strands, and reduce conductor cross-section.
Incorrect Contact Size
Using a Size 20 contact on wire intended for Size 16 (or vice versa) prevents proper compression geometry.
Contact size 16 vs 20 amp rating
Wrong Wire Gauge
Even with the correct contact, using wire outside the specified range compromises crimp integrity.
Incomplete Ratchet Cycle
Releasing the tool early results in partial compression and unreliable contact pressure.
Damaged Strands During Stripping
Nicked strands reduce current-carrying capability and mechanical strength.
Crimp Inspection Checklist
Use this crimp inspection checklist before installing any terminated contact.
-
No exposed conductor strands beyond barrel
-
Proper crimp compression profile
-
No insulation inside conductor crimp area (unless design includes insulation support section)
-
Conductor fully inserted
-
No barrel cracking or deformation
-
Pull test performed when required by application standards
Crimp inspection should be part of standard field service procedure.
Gas-Tight Crimp vs Poor Crimp: Key Differences
|
Characteristic |
Proper Gas Tight Crimp |
Improper Crimp |
|
Oxygen Exclusion |
Minimal voids |
Air pockets present |
|
Electrical Resistance |
Stable over time |
Increases with oxidation |
|
Heat Generation |
Within design limits |
Elevated under load |
|
Vibration Performance |
Maintains contact integrity |
Prone to intermittent faults |
|
Long-Term Reliability |
Improved |
Reduced |
Proper installation and correct tooling are essential for achieving these outcomes.
How to Crimp Deutsch Connectors in the DT Family
When evaluating how to crimp Deutsch connectors, remember that the DT connector series shares a common crimp-style contact system across DTM, DT, and DTP families.
However:
-
Contact sizes differ (Size 20, 16, 12)
-
Tooling requirements differ
-
Wire gauge ranges differ
Before terminating, confirm compatibility using the DT vs DTM vs DTP connector comparison guide.
DT vs DTM vs DTP connector comparison
Using consistent tooling across connector families simplifies training and inventory — but die selection must match contact size.
When Is a Gas Tight Crimp Most Critical?
Proper crimp technique is especially important when:
-
Connectors operate in vibration-heavy equipment
-
Circuits carry moderate to high current
-
Systems are exposed to moisture
-
Maintenance access is limited
Even sealed connector housings cannot compensate for a poor termination.
A reliable gas tight crimp supports:
-
Reduced electrical downtime
-
Improved diagnostic stability
-
Lower long-term maintenance frequency
Frequently Asked Questions
What is a gas tight crimp?
A gas tight crimp is a compressed conductor-to-contact connection designed to exclude oxygen and minimize oxidation, helping maintain stable electrical resistance over time.
Can I use a generic crimp tool?
Using a generic tool may not achieve proper compression geometry. Always use a manufacturer-compatible industrial crimping tool matched to the contact size.
How do I know if my crimp is correct?
Perform a visual inspection and, where required, a pull test. Confirm correct strip length, full compression, and absence of strand damage.
Does a sealed connector guarantee reliability without proper crimping?
No. Environmental sealing protects against external contamination, but improper termination can still cause resistance increase and failure.
Why does crimp quality matter in heavy equipment?
Heavy equipment operates in vibration-heavy environments where micro-movement and oxidation can accelerate connection degradation.
Conclusion
A properly executed gas tight crimp is essential for maintaining electrical reliability in harsh environments. Correct tooling, correct contact size, and correct wire preparation work together to create a stable, oxygen-resistant termination.
When terminating DT, DTM, or DTP connectors, always verify:
-
Contact size compatibility
-
Wire gauge range
-
Tool calibration
-
Manufacturer documentation
Proper crimping requires the correct tool matched to the contact size. CCK offers approved industrial crimp tooling compatible with DT, DTM, and DTP contacts to help ensure consistent gas-tight terminations in demanding environments.