Introduction to Automotive Connectors
Automotive connectors play a crucial role in vehicle electrical systems, ensuring secure and reliable connections between various components. Proper installation is essential for vehicle performance, electrical safety, and long-term durability. In this guide, we’ll walk you through a step-by-step process for installing automotive connectors like a pro.
What Are Automotive Connectors?
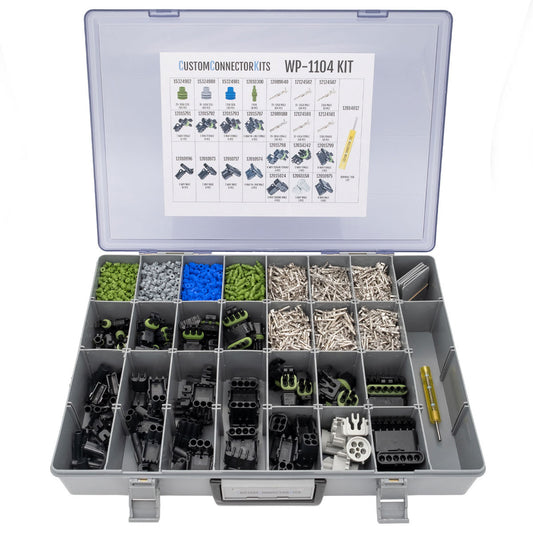
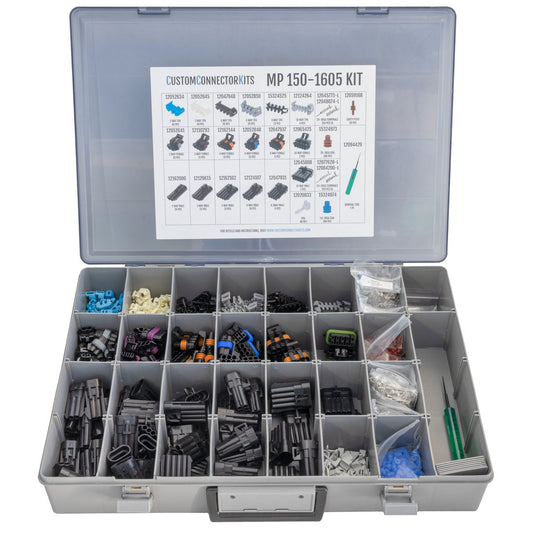
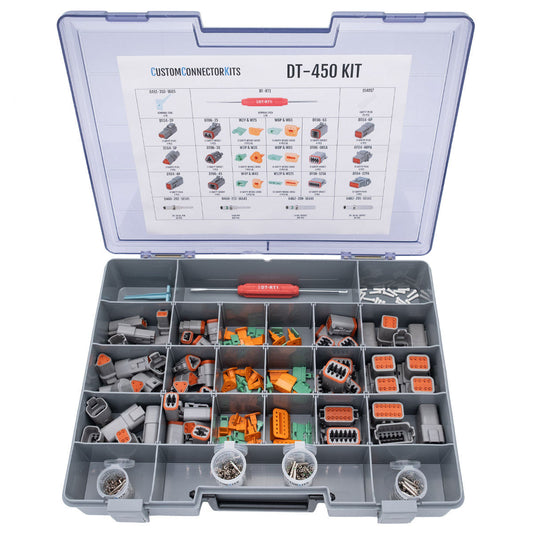
Automotive connectors are specialized components that join electrical circuits in vehicles. They come in different types, such as sealed and unsealed connectors, to suit various environmental conditions. Brands like Delphi and Deutsch offer high-quality connectors designed for durability and optimal conductivity.
Importance of Proper Installation
Incorrect installation can lead to poor connections, electrical failures, and potential safety hazards. Proper crimping, sealing, and testing ensure long-lasting performance and prevent system malfunctions.
Tools and Materials Needed
Basic Tools Required
- High-quality automotive connectors (Delphi, Deutsch, etc.)
- Wire strippers
- Crimping tool (specific to connector type)
- Multimeter (for testing connections)
- Terminal removal tool (specific to connector type) or small screwdriver
Optional Materials
- Heat shrink tubing
- Heat gun (for heat shrink tubing)
- Electrical tape
- Dielectric grease (for corrosion resistance)
Safety Precautions Before Starting
Personal Protective Equipment (PPE)
- Safety gloves
- Safety goggles
- Insulated tools (to prevent electrical shock)
Work Environment Considerations
- Ensure a clean and dry workspace
- Disconnect the vehicle battery before working
- Keep flammable materials away from heat sources
Step-by-Step Installation Process
Step 1: How to Remove an Automotive Connector
- Locate the connector and ensure the power is off.
- Release any locking mechanisms by depressing any locking tabs or using a small tool.
- Gently pull apart the connector without damaging wires.
- Use a terminal removal tool or small screwdriver to dislodge the terminals from inside the connector housing.
Step 2: How to Prepare the Wires
- Inspect the wire condition and trim away any damaged or burnt terminal ends.
- Cut wires to the appropriate length for a secure fit.
Step 3: How to Strip the Insulation
- Use a wire stripper to remove about ¼ inch of insulation.
- Ensure the exposed wire is clean and undamaged.
Step 4: How to Identify Automotive Connectors
- Check the connector type and size.
- Match the correct terminal and seal placement (if sealed).
Step 5: How to Crimp the Connector
- Insert the stripped wire and seal (if sealed) into the terminal.
- Crimp the terminal onto the wire using a crimping tool designed for the connector type.
- Apply firm pressure to achieve a full crimping cycle.
- Tug on the crimped terminal to ensure a strong crimp.
- Insert the terminal into the appropriate cavity in the housing.
- Step 6: How to Test the Connection
- Use a multimeter to check for continuity.
- Perform a gentle tug test to ensure a complete connection.
Common Mistakes and How to Avoid Them
Mistake 1: Incorrect Wire Strip Length
- Solution: Always strip the correct length as specified by the connector manufacturer.
Mistake 2: Poor Crimping Technique
- Solution: Use a high-quality crimping tool and apply even pressure. Ensure the crimping cycle is complete before releasing.
Mistake 3: Improper Locking
- Solution: Always ensure that the terminal is full seated and engaged at the proper depth and angle within the connector.
Frequently Asked Questions
What is the best way to crimp automotive connectors?
The best way to crimp automotive connectors is to use a high-quality ratcheting crimping tool designed for your specific connector type. This ensures a secure and reliable connection.
Can I use regular pliers to crimp automotive connectors?
While regular pliers may work in an emergency, they do not provide a secure crimp. It is best to use a dedicated crimping tool to ensure a professional and long-lasting connection.
How do I know if my automotive connector is properly installed?
You can check for a proper installation by performing a tug test to ensure the wire is securely crimped, using a multimeter to verify continuity, and ensuring the connector is fully locked in place.
What happens if an automotive connector is not properly sealed?
If an automotive connector is not properly sealed, it can allow moisture and contaminants to enter, leading to corrosion, poor electrical conductivity, and potential system failure.
Conclusion: Ensuring Professional Results
By following these steps, you can install automotive connectors with confidence. Taking the time to use the right tools, techniques, and safety measures ensures a professional, reliable installation that enhances vehicle performance and safety.
Sources
- Delphi Global Connection Systems Catalog
- Deutsch Industrial Product Catalog
- Custom Connector Kits technical resources